Battle of Arcole Day One
This is a report on the playtest of a scenario I knocked up for Black Powder. The scenario involves nine French battalions in two brigades attempting to seize the bridge across the Alpone and the town of Arcole in order to allow Bonaparte's Army of Italy to execute a flanking manoeuvre to cut the line of communication of an Austrian army attempting to relieve Mantua.
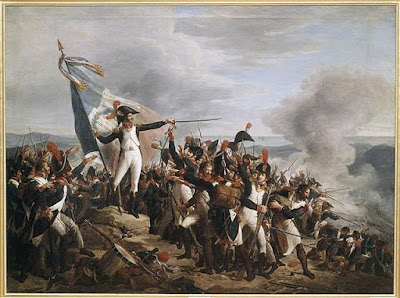
In reality the battle, although it has become part of the foundation myth of the French Republic as a great victory, was only a partial success for the French. The Austrian relief attempt was defeated but the Austrian army managed to extricate itself from the trap Bonaparte laid for it and was back for another go a couple of months later.
In this scenario the length of the game is variable. At the end of each turn a D6 is rolled and the result deducted from a starting number of 33. This will, on average, give a game of eleven turns but this isn't certain. I elected to do this to reflect the difficulty of moving widely dispersed formations across this difficult ground and the potential confusion that eats up time. In addition to the two French brigades that start on the table there another that is trying to cross the Alpone by boat further south near Albaredo. This brigade, led by Guieu, did not in the event arrive in time to fight on day one. I decided for these troops to appear on the southern table edge east of the Alpone the French had to roll a 6 on a D6 at the begining of any turn starting on turn 4.
The above photo shows the French advance early in the game. Lanne's brigade, comprising the 51 & 4 demi-brigades, is moving up the causeway west of the Alpone accompanied by Bonaparte. The 5 light demi-brigade, commanded by Verdier and accompanied by a doubtless foul tempered Augereau is slogging through the marshy ground west of the causeway in skirmish formation. Arcole, and the three large Croatian Grenzer battalions defending it for the Austrians can be seen in the distance.

In the above photo the Austrian artillery has fired on and shaken (as denoted by the small D6 showing a 3) the lead French battalion. As the French had to advance in column along the causeway they were easy targets. A battlion of Grenzers have deployed in line on the causeway east of the Alpone ready to enfilade the French should they adnave further.
The battle is underway. In the foreground the lead French battalion has successfully crossed the bridge and deployed into line to assault Arcole. Jean Lannes has rallied his men and personally led this attack. The battlion has taken two hits, as denoted by the 2 on the green D6. In the background the French and Austrians are engaged in a firefight across the river. The French were able to make good use of their superior staff ratings to rally their men and maintain their fire.
The climax of the battle. Lanne's has captured the town and broken the Grenzer battalion defending it, although his men are disorded and only one hit from being shaken. Another French battalion is rushing across the bridge and the French on the causeway west of the Alpone have successfully driven the Grenzers on the eastern causeway back where they were enfiladed with devastating effect by the French in the town. The pink die showing a 4 denotes this large unit is both shaken and disordered. The reserve Grenzer battalion has been trying to recaptre the town but is disordered and shaken as well.
The French have had one battalion wiped out by a murderous Austrian volley as they attempted to cross the bridge but otherwise Lanne's brigade, although it has taken losses, is still full of fight. Verdier is still sloshing his way through the marsh and is some way from Arcole. Guieu is yet to arrive.
This was turn 7. There was only 7 left on the countdown so the game could have ended in as few as two further turns or dragged on for another seven. the fact the Austrians were broken made it a decsive French vistory however.
This is contrary to what happened in reality at Arcole on day one. The French were driven back and it took a further two days of hard fighting to secure the bridge, giving the Austrian army time to withdraw to safety.
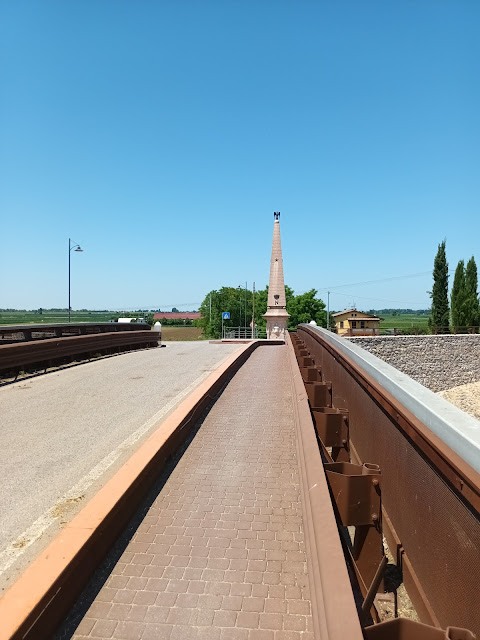
I had the pleasure of visting the actual battlefield earlier this year.


Comments
Post a Comment